Showing posts with label figures. Show all posts

Saturday, May 21, 2011

Harley rider (4)

The bike is nearly done now, still some work to do on the gun scabbard and the bags and that's about it. MiniArt did a good job, I really enjoy building this kit.

The figure is almost done to, but I have a lot of trouble getting a smooth finish and transition of the folds is a bit rough. I'm not happy with right shoulder either. There's an awful lot that can be improved, but I guess this how far my skills can bring me. I am going to rework the shoulder somewhat and after that I'm calling this figure done. 


Thursday, April 28, 2011

Harley rider (3)

The limbs are fleshed out with some magic sculp.

The trousers are almost done. I mixed a tiny bit of Vallejo black with the putty just to check that both parts of the putty are throughly mixed. 


Still have to do some cleaning up and find a way of smoothing the surface a bit. 

Monday, April 25, 2011

Stickman on a hog.

I've made a bit more progress with the Harley rider. A pair of hands was added to the wire arms and matched with the steering bar. Next will be fleshing out the limbs and fixing the pose permanently.


 This will require the most sculpting I've ever done on a figure, hopefully things will work out.

Born to be wild


My last build is MiniArts Harley Davidson motorbike, it's going to part of a diorama together with the Sherman and the tree. The kit is very nice and a pleasure to build, especially compared with my last build, the early Sherman from Dragon produced in the 90's of last century. I should probably buy some more modern kits. 
Here are some build reviews which I find of great help.


And another great source is The Liborator , lots of great pictures here.


The kit comes with some delicate PE parts. I did have some trouble with the PE spokes. After forming the spokes and gluing the spokes and hubs together I tried to glue the spokes in the center of the wheel rim.When I attached the rear wheel to the frame I discovered that it was not centered. So I had to remove the spokes from the rim and reshape them, sadly this left them a bit damaged. With second attempt, the spokes were only glued to the rim with a tiny spot of CA glue. This left some movement in the rim and tire.  The spokes were then firmly attached to the frame. It was still possible, this way, to make some adjustments to make sure the wheels are centered in the frame and front fork.

I want to add a rider to the bike and decide to do some figure conversion. Only the basic shape of the bike is constructed. Most of the PE and details are left of to avoid damage and breakage when fitting the figure.


A start is made with the rider, from an old figure out the spare box a basic pelvis was carved. I used a Dragon figure for the shoes and torso, from which the moulded on straps were scraped away.The head comes from Hornet. Brass wire is used for the limbs, the arms have to be shortend a bit.

I hope to give you another update soon.

Friday, November 26, 2010

M4A1 75mm

Here's a, much overdue, update.

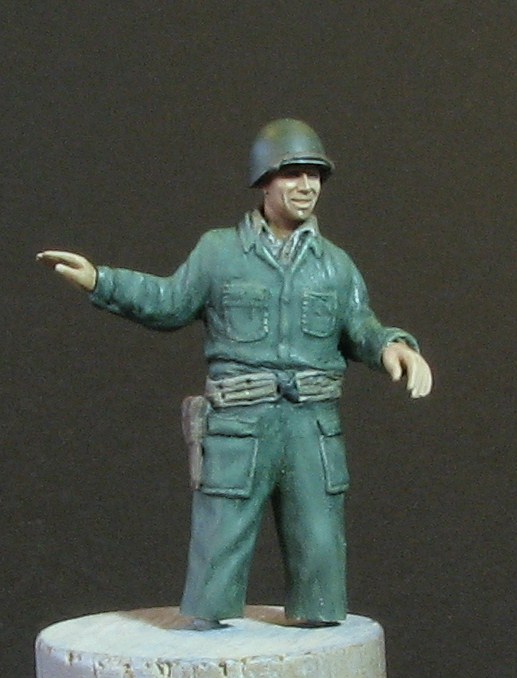
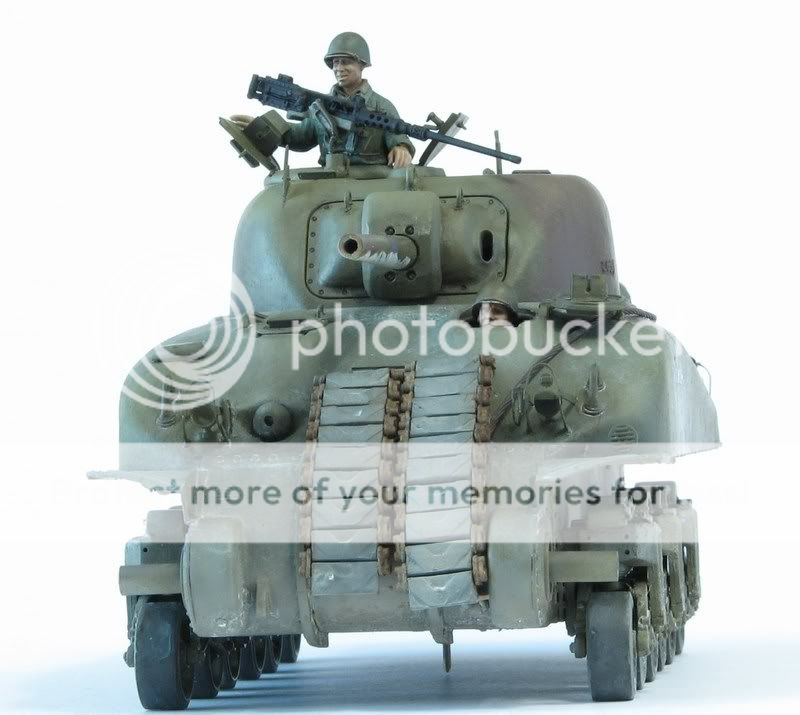
For the tankcommander I converted an old Italeri plastic figure with a pair of Verlinden hands and a Hornet head. The arms and some details were sculpted with Duro and Magic Sculp.

Painting is done with Vallejo acrylics, which is a first for me.
The figure in its new home

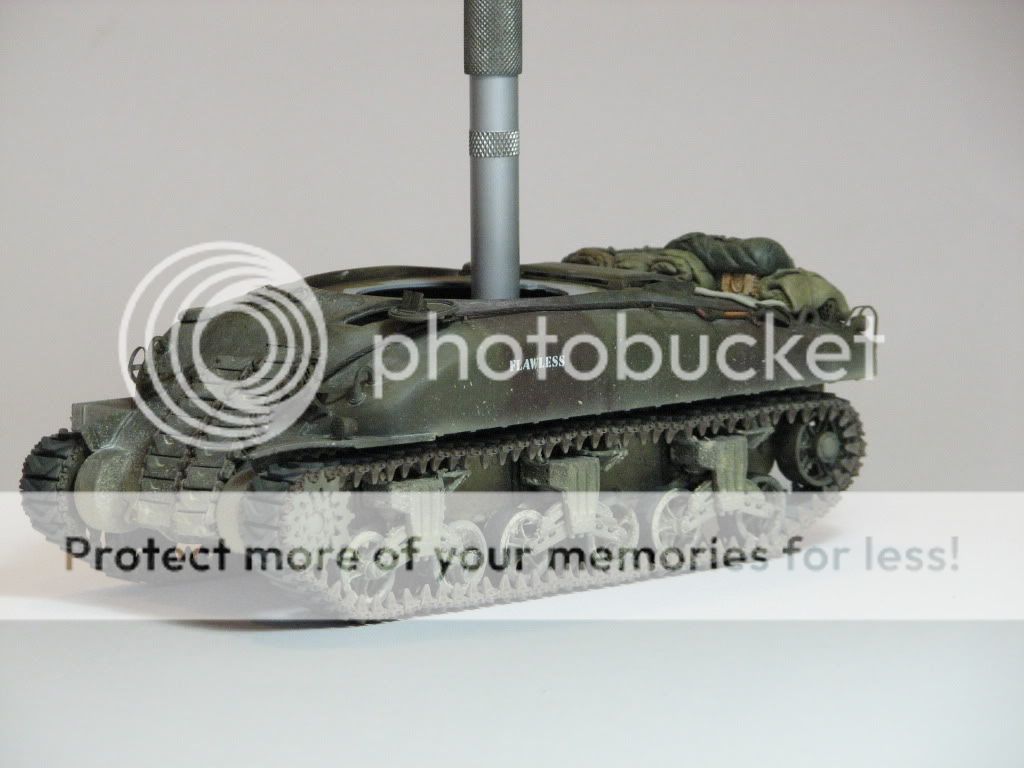
The tank received it's first coat of paint.

details painted and weathering in process with the help of oils.

mud added in the form of Vallejo paints, talcum powder and acrylic medium.