Saturday, May 21, 2011

Harley rider (4)

The bike is nearly done now, still some work to do on the gun scabbard and the bags and that's about it. MiniArt did a good job, I really enjoy building this kit.

The figure is almost done to, but I have a lot of trouble getting a smooth finish and transition of the folds is a bit rough. I'm not happy with right shoulder either. There's an awful lot that can be improved, but I guess this how far my skills can bring me. I am going to rework the shoulder somewhat and after that I'm calling this figure done. 


Monday, May 16, 2011

Twenot 35 year anniversary

The Twenot, the Dutch organization of military vehicles enthusiasts, celebrated its 35 year anniversary at  the war museum in Overloon on Sunday May 15. It was a great day, with the museum providing a perfect backdrop for the event. Outside there were stands with militaria colletables and Militracks took place. Lots of beautiful restored WW2 vehicles were rumbeling around on the grounds, for the vistors it was possible to take a ride in one of these vehicles. Didn't take a ride myself, but standing a few meters from a T34 rolling past sure is special feeling. Indoors the competition was held and lots of traders were present (I blew most of my budget for the day in one blow, buying a new airbrush compressor. :) )
a T34/85 rumbling by

the competition room

c'est ne pas un pipe

more pics can be found here , sorry for the quality.

Looking forward too the 40 year anniversery.

Thursday, April 28, 2011

Harley rider (3)

The limbs are fleshed out with some magic sculp.

The trousers are almost done. I mixed a tiny bit of Vallejo black with the putty just to check that both parts of the putty are throughly mixed. 


Still have to do some cleaning up and find a way of smoothing the surface a bit. 

Monday, April 25, 2011

Stickman on a hog.

I've made a bit more progress with the Harley rider. A pair of hands was added to the wire arms and matched with the steering bar. Next will be fleshing out the limbs and fixing the pose permanently.


 This will require the most sculpting I've ever done on a figure, hopefully things will work out.

Born to be wild


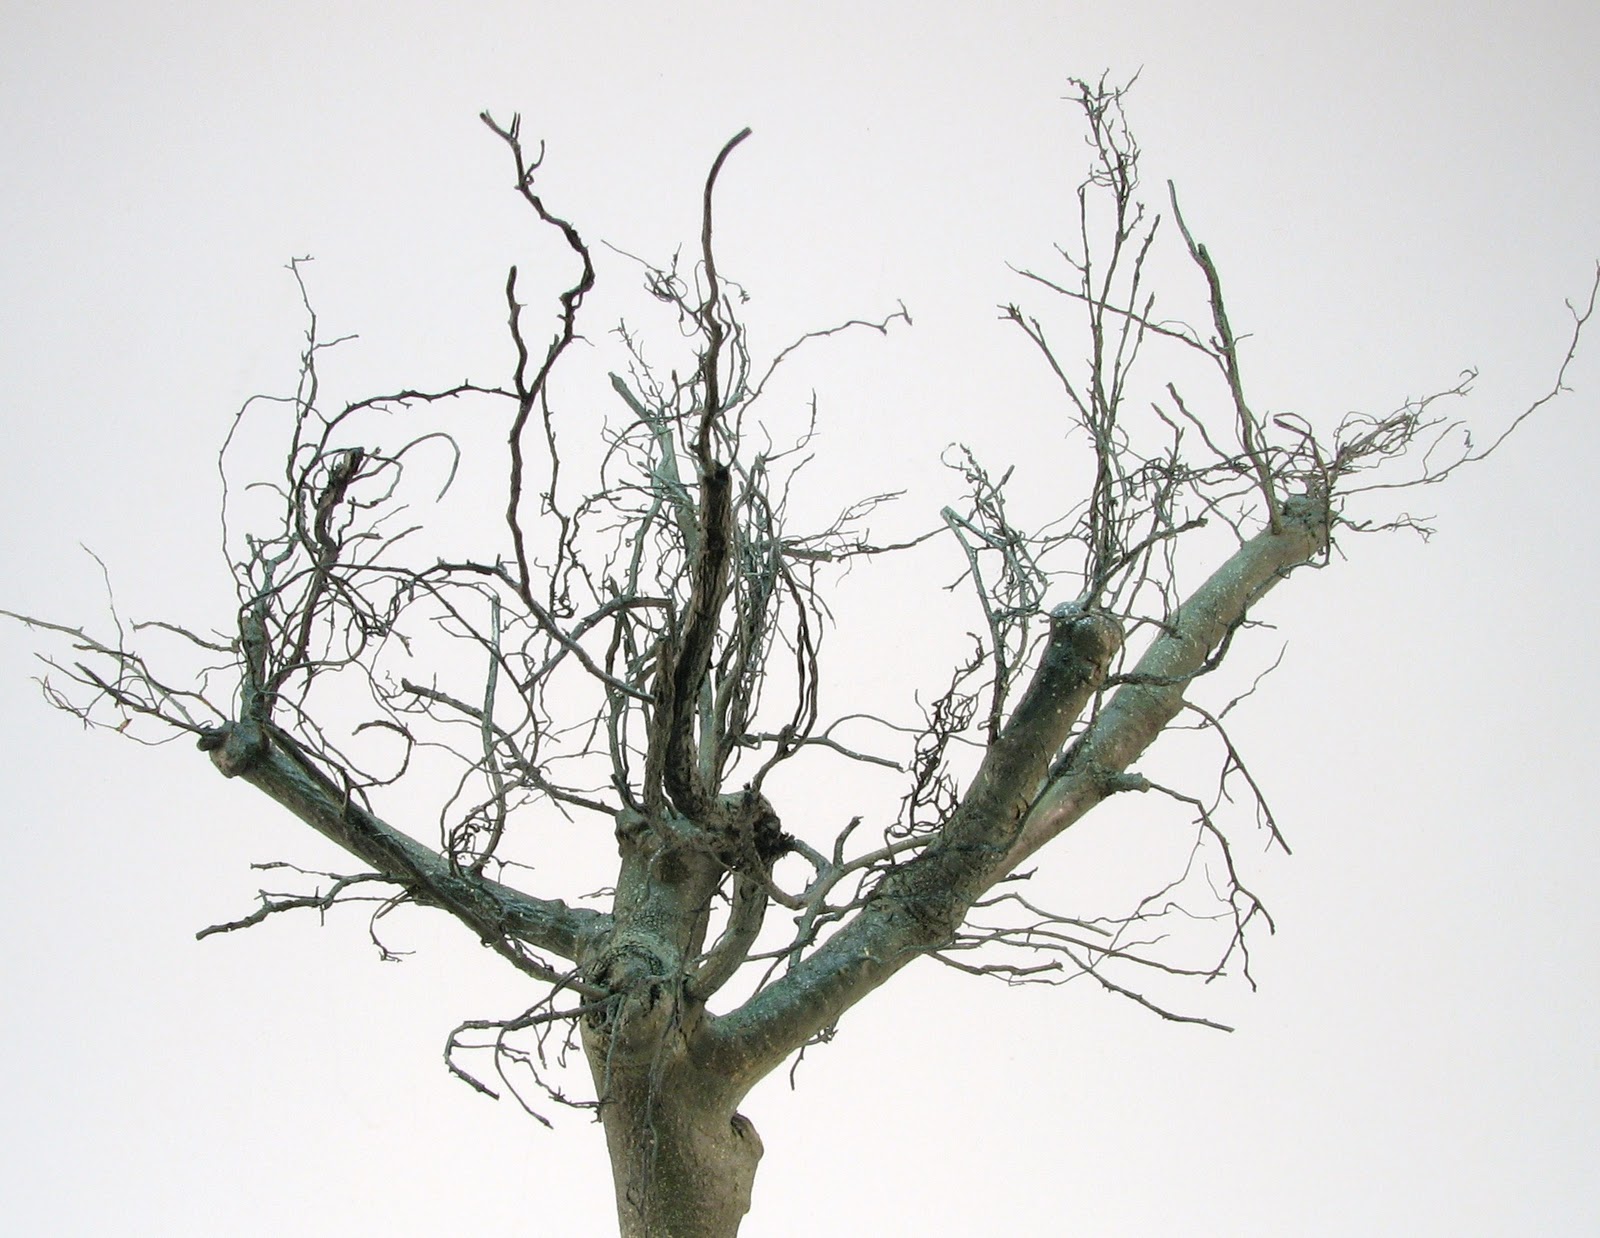
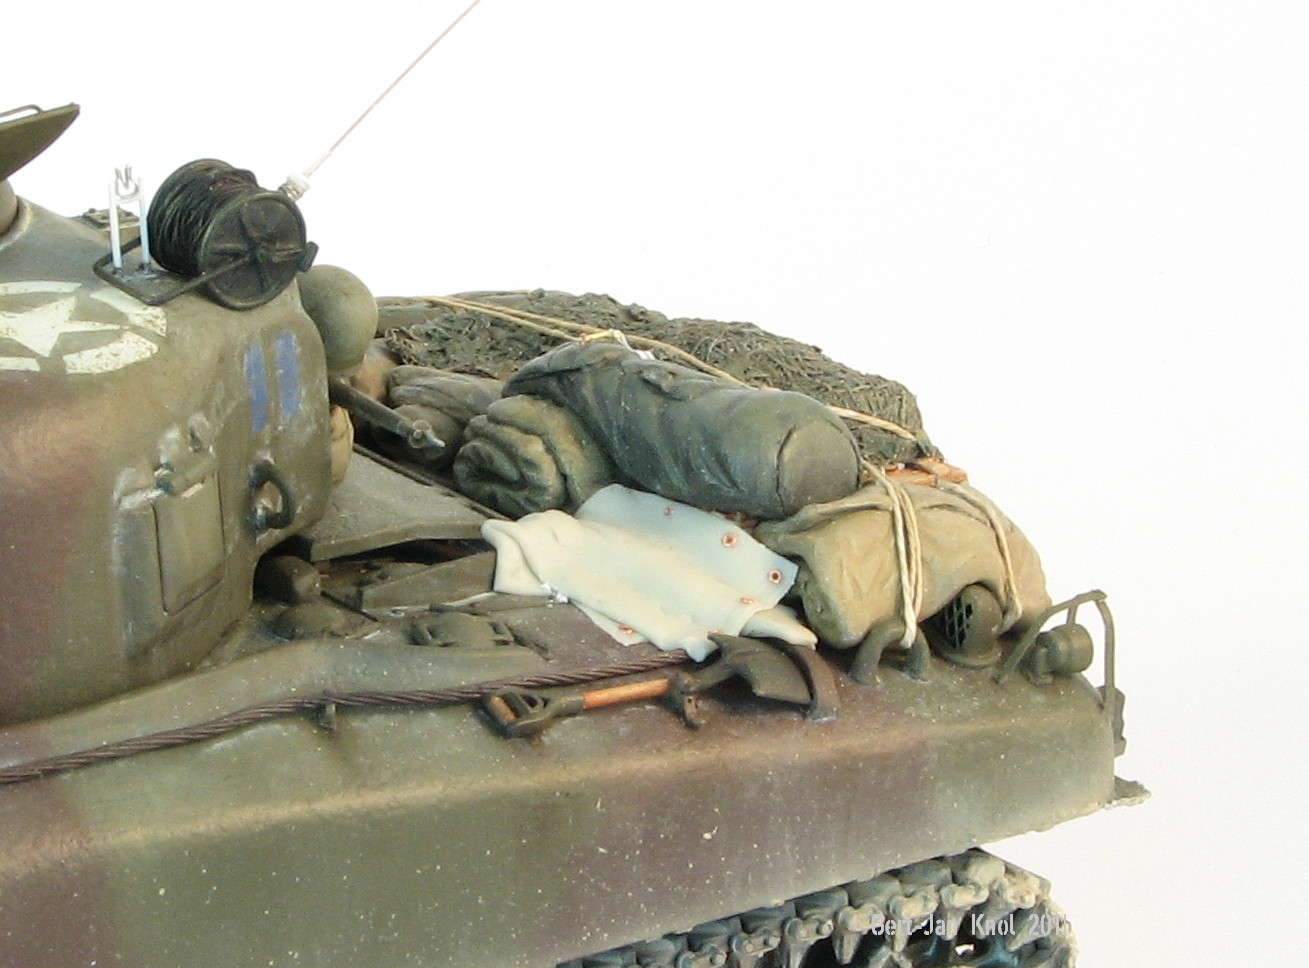
My last build is MiniArts Harley Davidson motorbike, it's going to part of a diorama together with the Sherman and the tree. The kit is very nice and a pleasure to build, especially compared with my last build, the early Sherman from Dragon produced in the 90's of last century. I should probably buy some more modern kits. 
Here are some build reviews which I find of great help.


And another great source is The Liborator , lots of great pictures here.


The kit comes with some delicate PE parts. I did have some trouble with the PE spokes. After forming the spokes and gluing the spokes and hubs together I tried to glue the spokes in the center of the wheel rim.When I attached the rear wheel to the frame I discovered that it was not centered. So I had to remove the spokes from the rim and reshape them, sadly this left them a bit damaged. With second attempt, the spokes were only glued to the rim with a tiny spot of CA glue. This left some movement in the rim and tire.  The spokes were then firmly attached to the frame. It was still possible, this way, to make some adjustments to make sure the wheels are centered in the frame and front fork.

I want to add a rider to the bike and decide to do some figure conversion. Only the basic shape of the bike is constructed. Most of the PE and details are left of to avoid damage and breakage when fitting the figure.


A start is made with the rider, from an old figure out the spare box a basic pelvis was carved. I used a Dragon figure for the shoes and torso, from which the moulded on straps were scraped away.The head comes from Hornet. Brass wire is used for the limbs, the arms have to be shortend a bit.

I hope to give you another update soon.

Thursday, April 14, 2011

Here another update, somehow I’ve problems taking good photographs lately. My apologies for the poor quality pictures.
For the base I used a piece of MDF with pine section moldings on the sides. My carpentry skills aren’t great and the results are a bit crude, but under a few layers of gloss black it doesn’t look not too bad.


The cobblestones for the road were made using packing material for vegetables and meat you find at the supermarket. I cut out the flat sections and cut those up in small cubes which a rolled between my fingertips.
The groundwork was made up with sections of Styrofoam. Everything is glued on the baseplate with white glue.

I'm about to finish the groundwork, but I just can't take a decent photograph of it. Here are the pics I did manage to take there not great but give you an idea how things look now.


Well, all thats left to do now is to attach the tank to the base and practicing taking photos. I really hope to give you another update soon.


Sunday, February 6, 2011

The past view days I've been working on some trees to dress up the base I'm planning. I made two trees but only one will end up on the base.

I spent about 2 or 3 evenings adding dried roots to the first structure (just a couple of twigs glued together) but I could have spent weeks to get a beter result. The white stuff in the picture is Das airdrying  modeling clay.


Here the tree is primed with a light grey primer. Next the tree was airbrushed entirely black, I forgot to take photographs, my apologies for that. 

After the initial black coat, three or four coats of various greens and greys were misted on. I splatered on some yellow-green and grey spots, followed by a brown wash.


Airbrushing all those branches caused a lot of overspray by the way. Using Vallejo acrylics I'm used to airbrushing indoors, but next time I'll take my airbrushing outside. Making a tree was fun to do, there is still some work to be done, but I beter concentrate on the layout of the base now.

Monday, January 31, 2011

Basework

With the vehicle done it's time for some ground work. I want to make a piece of road with one or more trees along the side. So I started with some trees.
The rough shapes were made with some branches and twigs I found outside of our house, the city had just trimmed some trees. Things are held together with paper clip wire and super glue. More finner branches and texture to the bark still needs to be added. I intend to use dried roots, wire and putty for that. I have some vague ideas in my head of what I want, lets see how things work out.

Sunday, January 30, 2011

DML M4A1 75mm done.

I am calling this tank done, the last bits were painted and an MV lens was used for the right headlight. Its the first time I used one of these lenses and it really looks great. Anyhow here are the pics.


I used the "mud- splattering-technique" it's a great way to build up layers of mud, but it has to be used with restraint. Here I got mud all over the stowage and even on the roof of the turret, because I used acrylics for the mud it sets pretty much instantly and permanent. A lesson learnt.

The tank is ready, next thing will be a  dressed up base.

Sunday, January 9, 2011

Final construction

Here a small update, I added the last details, such as the antenna. And I re-attached same bits and pieces which got broken off.
 The small connections between the antenna parts were made with pieces of stretched evergreen plastic tubbing. I inserted a piece of wire with the same diameter as the antenna when stretching the tube and ended up with a very thin plastic tube more or less the diameter of the antenna.
The barrels of the hull and coax .30 machine guns are from RB model. They're are really nice with a hollow barrel sleeve, but I think they are bit over-scale.


Just some detail painting and touch-ups to do and I am finished. Oh.. and I'm going to use pigments for the first time hope I don't mess up.